Telemetrix4Esp8266
The TelemetrixEsp8266 Arduino sketch acts as a TCP/IP server. The following steps explain installing the sketch and connecting your Telemetrix Python application to an ESP-8266 device.
Installation And Usage Instructions
- Ensure that you have installed board support for the ESP-8266 into the Arduino IDE. Instructions are available here.
Make sure that you have version 3.1.1 or greater installed.
Select your ESP-8266 device type and serial port using the Tools menu within the Arduino IDE.
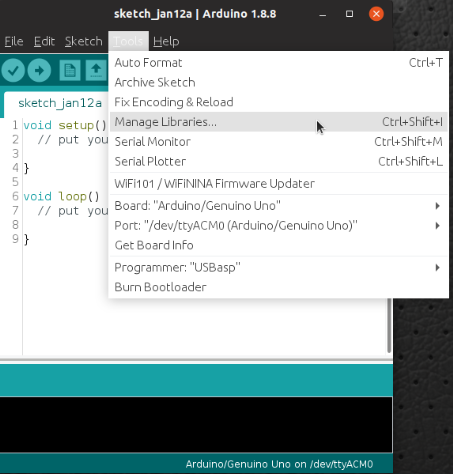
2. Open the Arduino IDE and select Tools/Manage Libraries.
3. Enter "Telemetrix4Esp8266" in the search box.
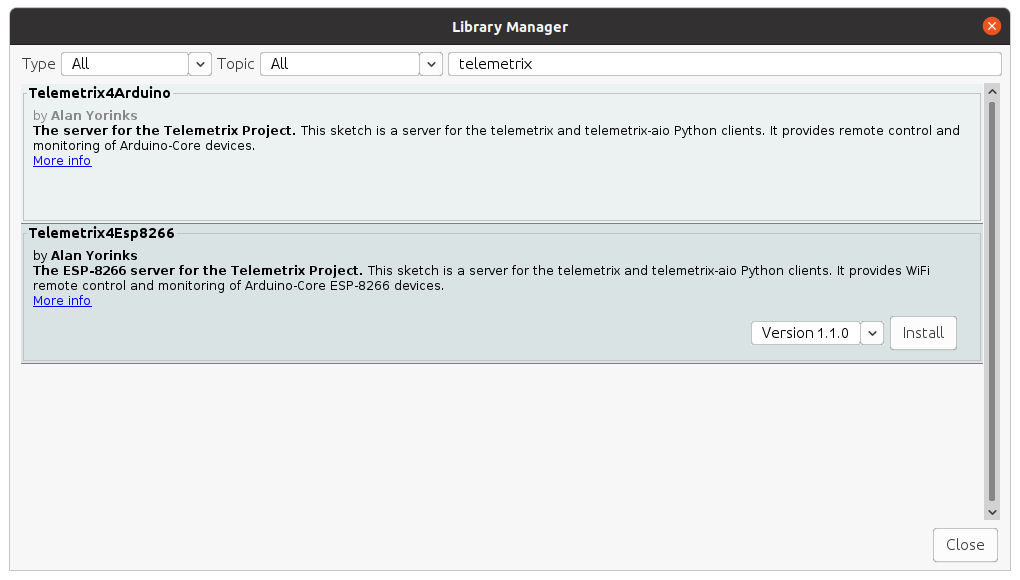
4. Click on the Install button. You may be prompted to allow the installation of additional libraries. Accept the installation for all.
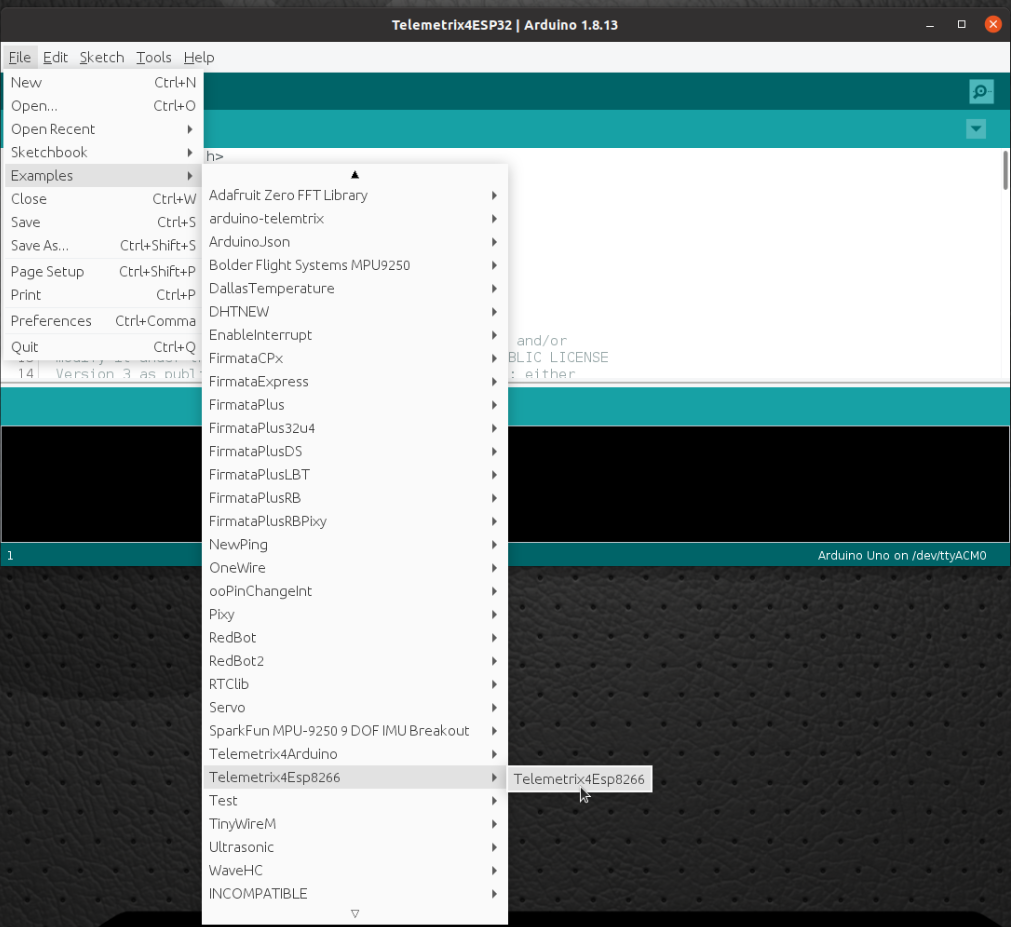
5. Upload Telemetrix4Esp8266 to your Arduino-Core board by selecting File/Examples/Telemetrix4Esp8266/Telemetrix4Esp8266.
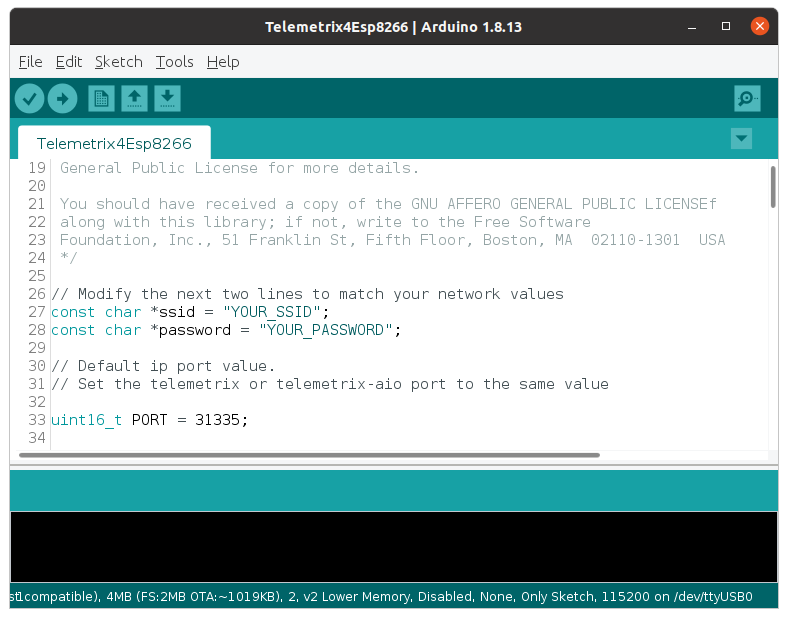
6. Edit the sketch values for SSID and PASSWORD to match the values of your network so that the network may assign an IP address to your ESP-8266
7. Connect a USB serial cable to your ESP-8266 device and upload the modified Telemetrix4Esp8266 sketch to your device by clicking the Upload button on the Arduino IDE.
8. To determine the IP address your router assigned to the device, open the Arduino IDE Serial Monitor, and set the baud rate to 115200. Reset the ESP-8266. If you are using a NodeMCU type device, press the RST button. The onboard LED will light, and you should see a message on the serial monitor that the board is connecting to your network. Upon successful connection, the onboard LED will be extinguished, and the IP address and port are displayed on the serial monitor.
NOTE: If you are using multiple ESP-8266 devices for your application, you may set the port value to be used by modifying the default value in the sketch. Make a note of the IP address and port number reported. These will be used when instantiating your Telemetrix Python application. You may see some "garbage" characters appear in the serial monitor resulting from the reset and generated by the ESP-8266. Ignore those characters. 
9. Make sure to set the IP address and port to the values reported in the serial monitor before instantiating your Python application:
 def __init__(self, com_port=None, arduino_instance_id=1,
                 arduino_wait=4, sleep_tune=0.000001,
                 shutdown_on_exception=True,
                 ip_address=None, ip_port=31335):