
Preparing The Raspberry Pi For Bluetooth Communication
In this edition of Bots In Pieces, we will:
- Configure the Raspberry Pi for Bluetooth RFCOMM communications.
- Explain how to pair an Android device with the Raspberry Pi.
- Install the pybluez Python package.
- Install a Bluetooth Server test tool.
Don’t have an Android device? Not to worry!
In a future post, a tkinter component will be presented that can be used to replace the Android app and Bluetooth server. This will allow you to drive the robot directly on the Raspberry Pi desktop.
Configuring The Raspberry Pi, Bluetooth, and RFCOMM Communications.
As you will see, the process is pretty simple to do. Just follow the simple steps below.
Enabling The Raspberry Pi For Pairing.
Step 1: Update Raspbian - open a terminal and type:
sudo apt-get update
sudo apt-get upgrade
Step 2: In the terminal type the following:
sudo rfkill unblock all
This will unblock the Bluetooth device on your RPi if it is in a blocked state.
Step 3: Invoke the bluetoothctl program:
sudo bluetoothctl
Then enter the following three commands:
power on
discoverable on
pairable on
You should see something like the following in your terminal:
pi@BanyanBot:~ $ sudo bluetoothctl
[NEW] Controller B8:27:EB:25:1A:EA BanyanBot [default]
[bluetooth]# power on
Changing power on succeeded
[bluetooth]# discoverable on
Changing discoverable on succeeded
[bluetooth]# pairable on
Changing pairable on succeeded
[bluetooth]#
When first starting bluetoothctl the first line displays the RPi’s Bluetooth MAC address and hostname.
For each of the 3 commands, the tool will indicate success or failure.
Pairing The Raspberry Pi To An Android Device
Consult your Android Device Manual for exact instructions. I am using a Kindle Fire Tablet as an example.
-
Power On your Android Device.
-
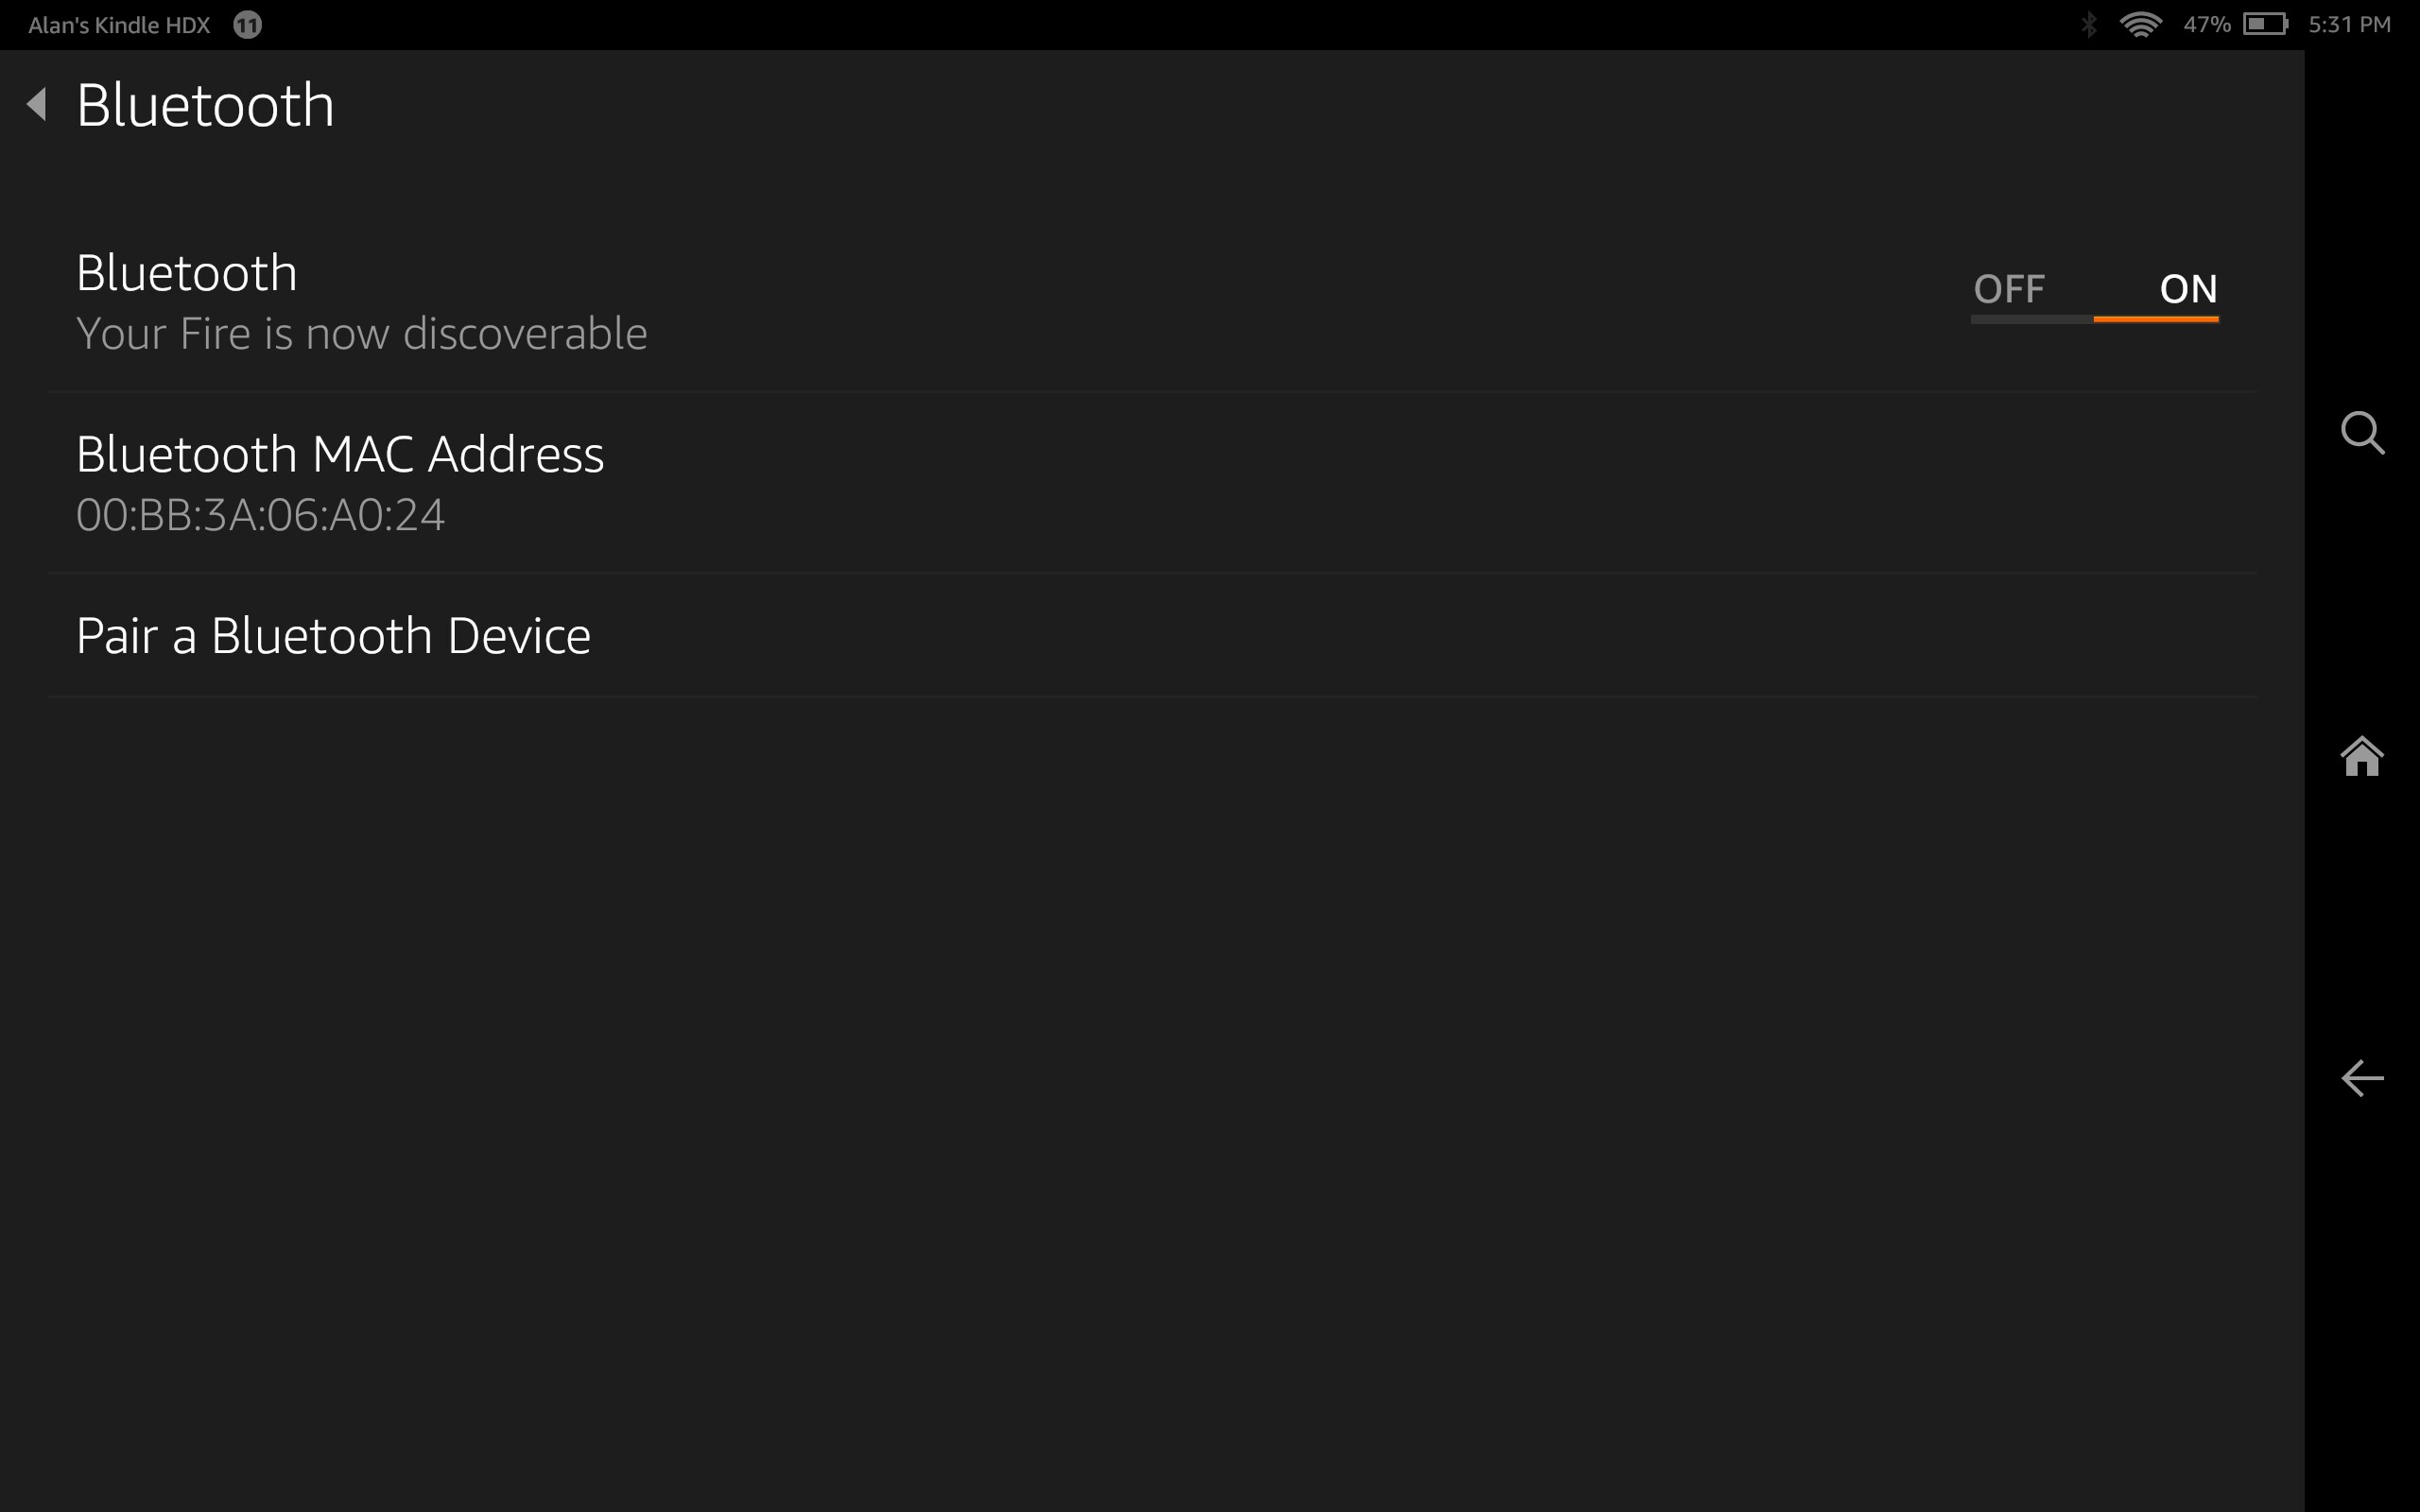
Go to the device’s settings for Bluetooth and turn Bluetooth On.
-
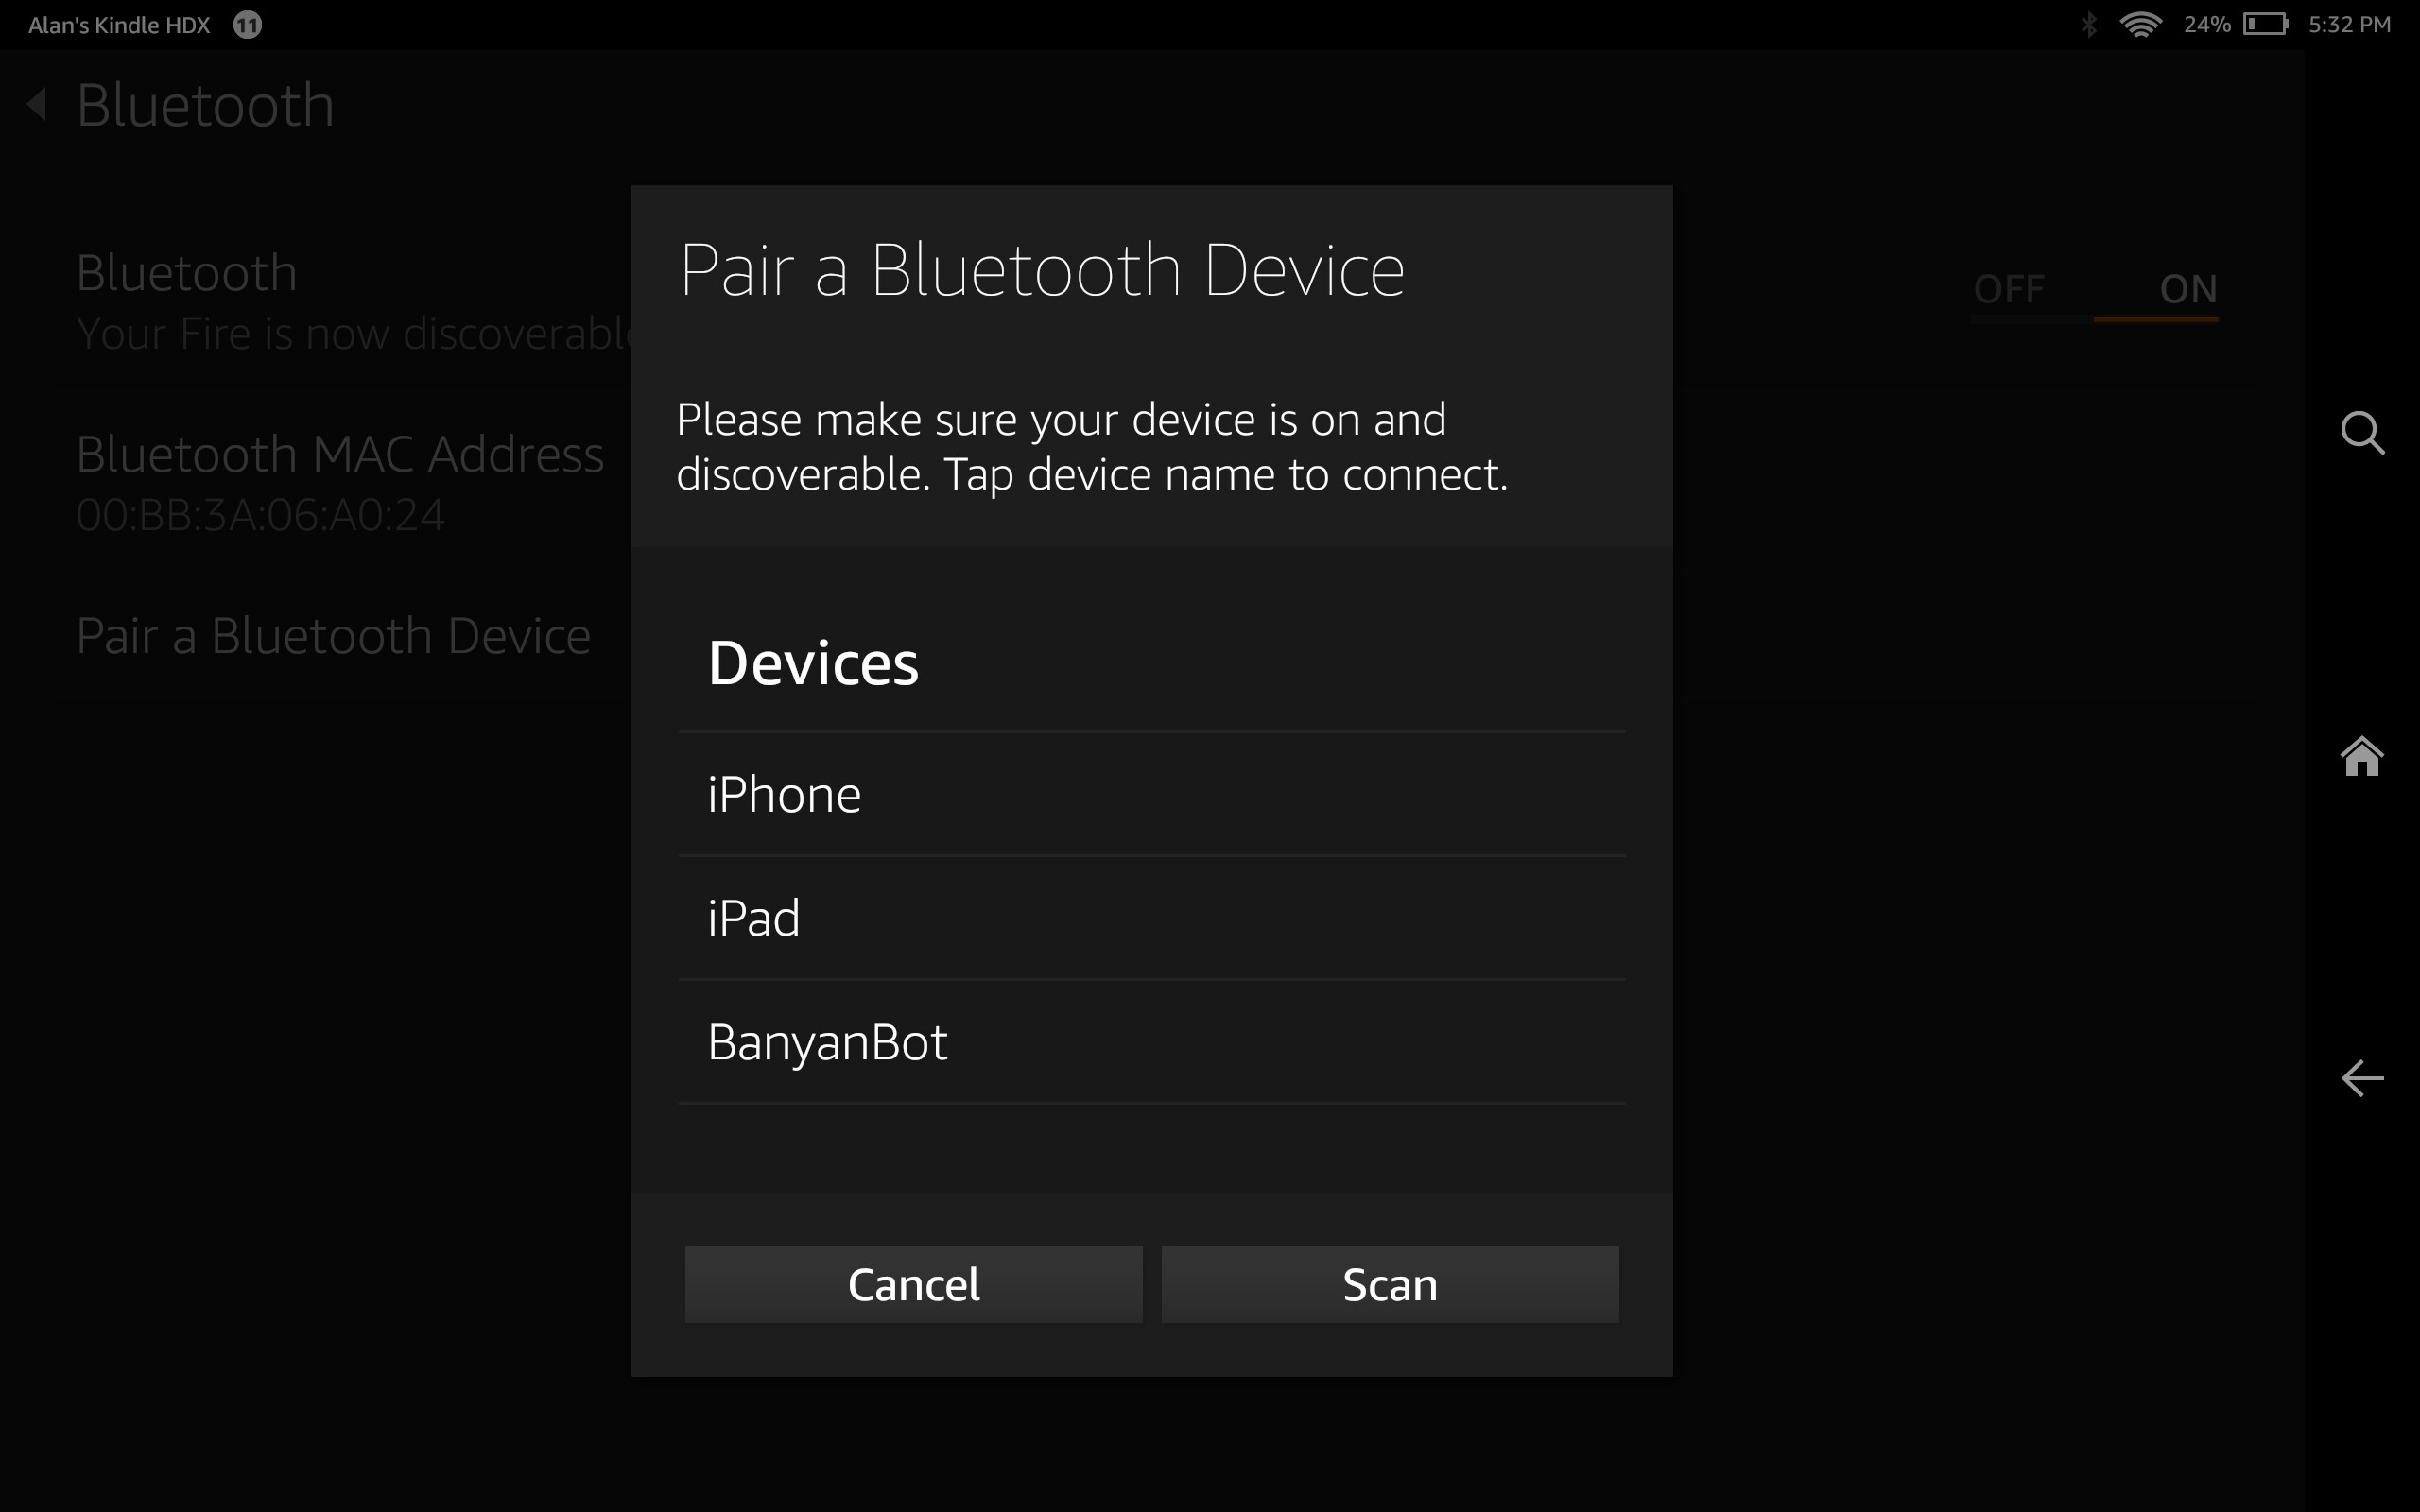
Select “Pair A Bluetooth Device.
-
Perform a scan for Bluetooth devices and select the hostname of your Raspberry Pi when the scan completes.
-
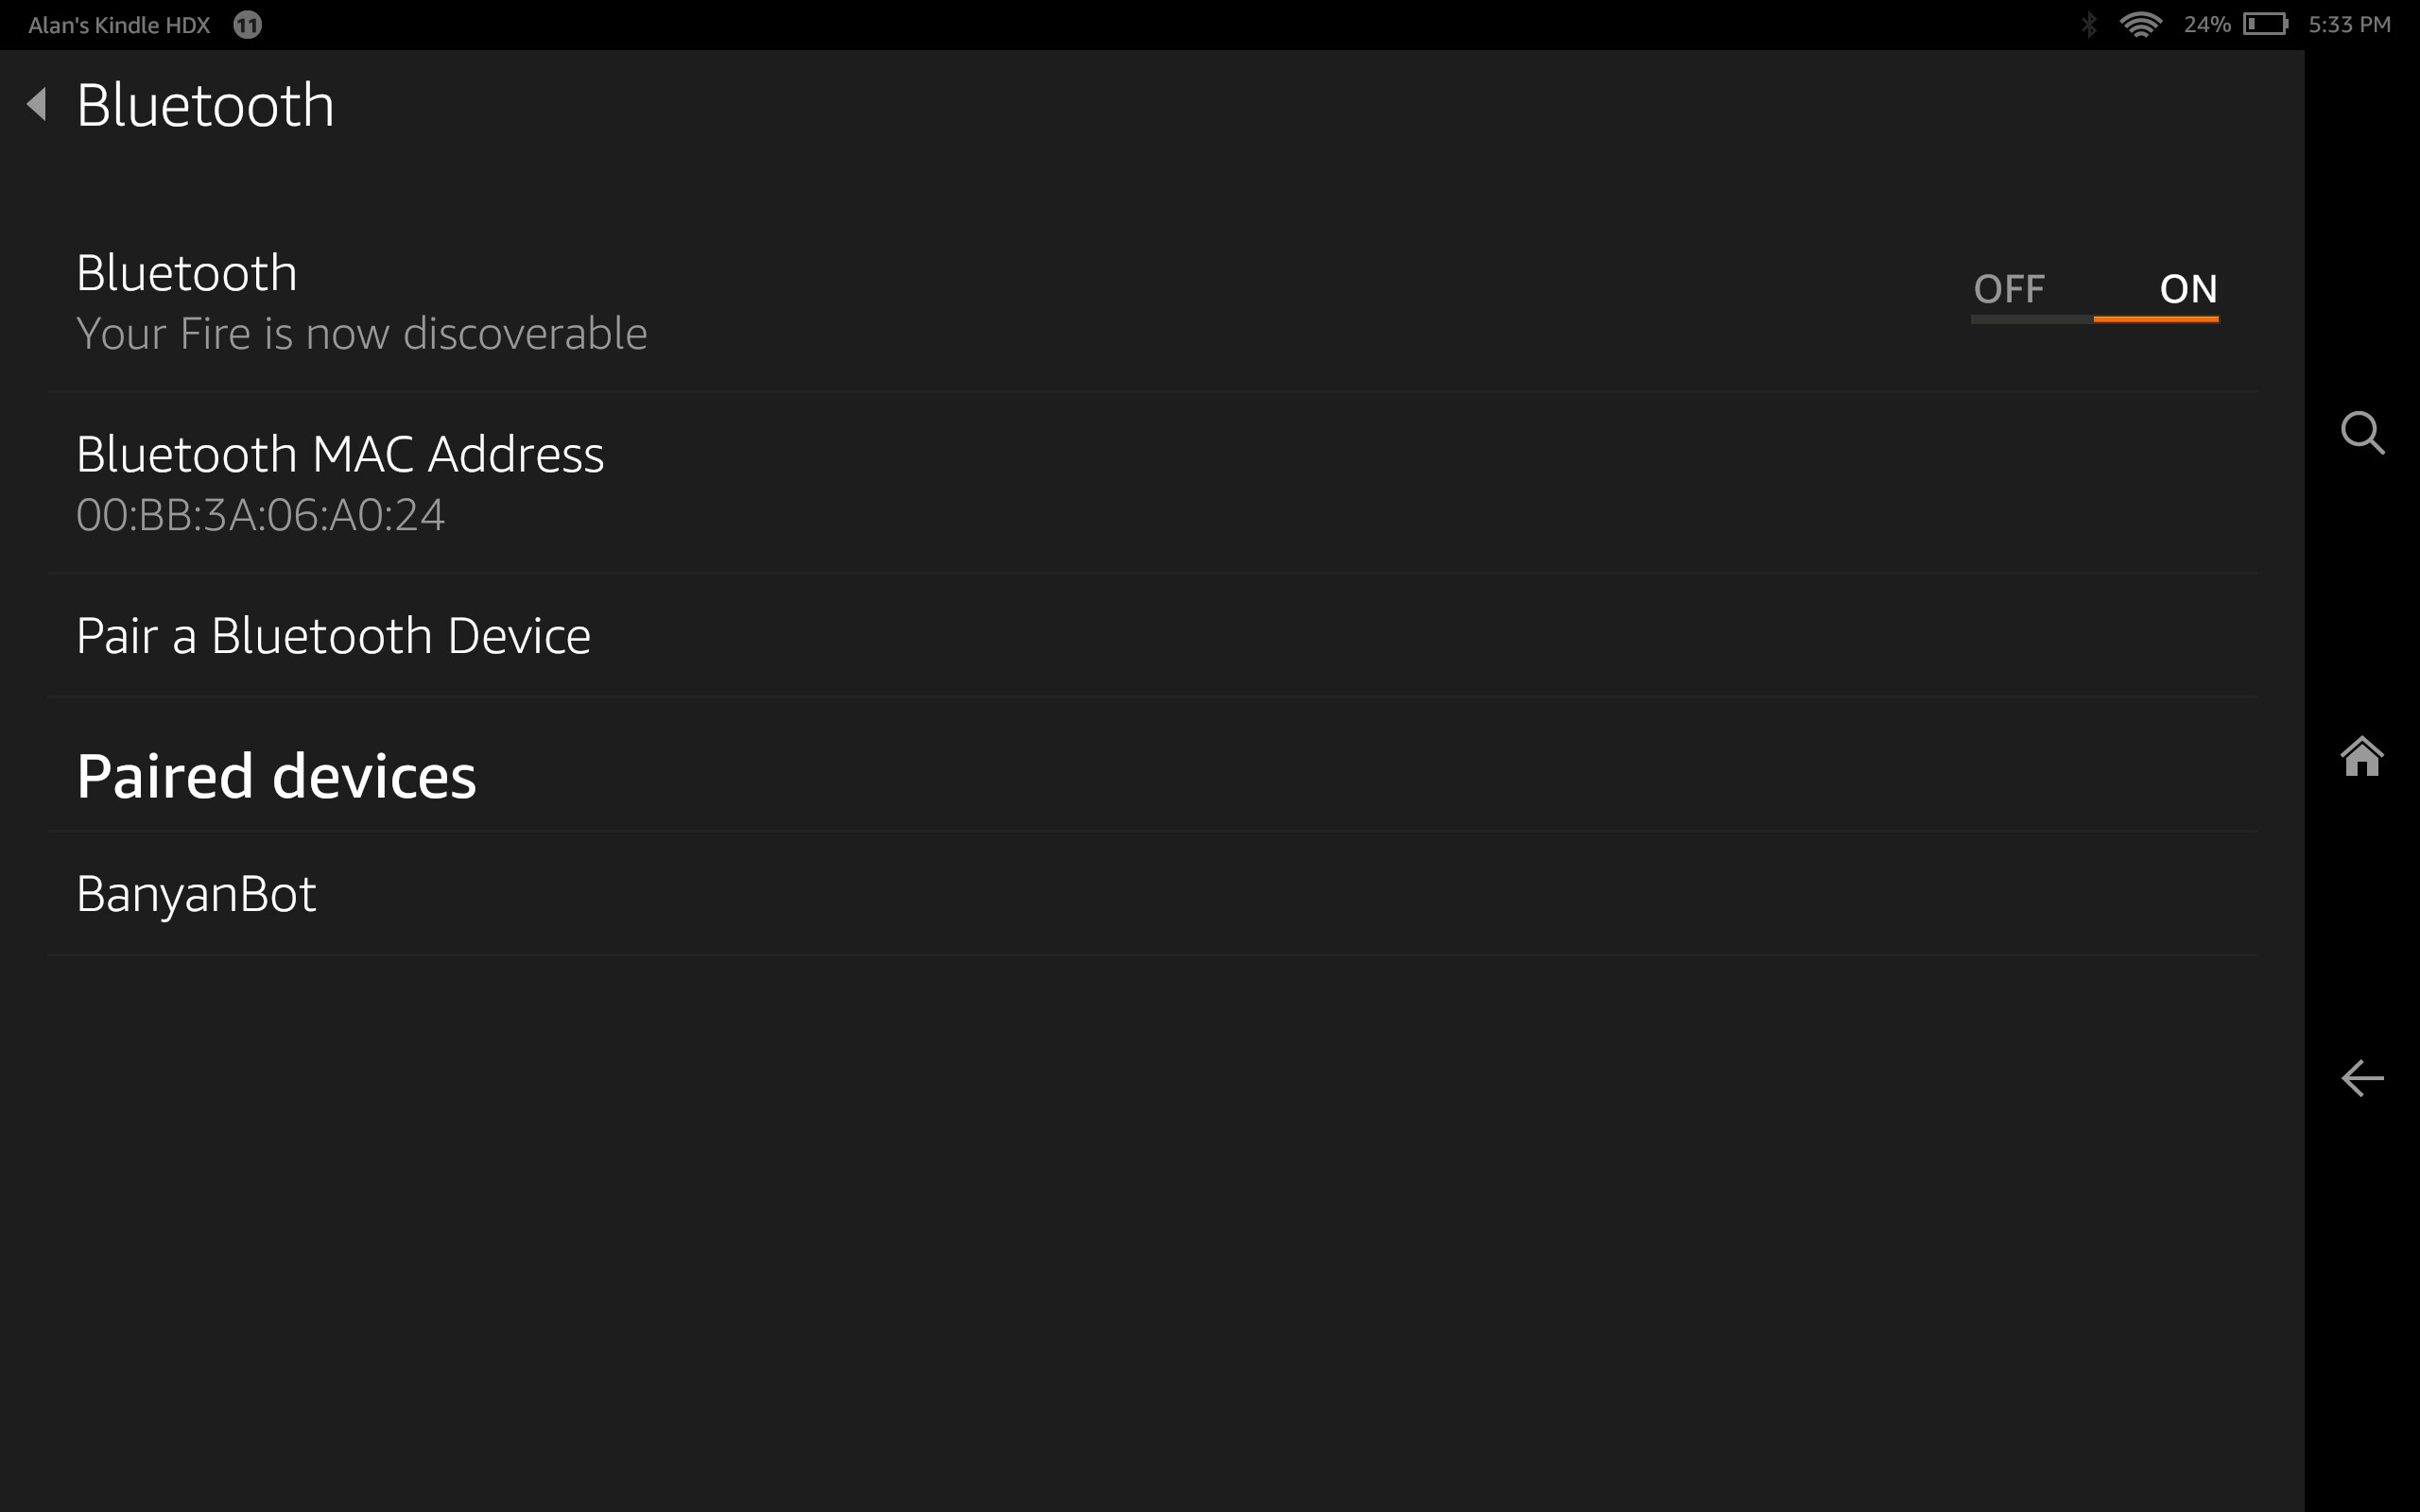
You should see that the Android device is now paired with your Raspberry Pi
-
If you go back to the Raspberry Pi, and look at the output on bluetoothctl, you should see something that looks like the following:
[bluetooth]# power on
Changing power on succeeded
[bluetooth]# discoverable on
Changing discoverable on succeeded
[CHG] Controller B8:27:EB:25:1A:EA Discoverable: yes
[bluetooth]# pairable on
Changing pairable on succeeded
[NEW] Device 00:BB:3A:06:A0:24 Alan's Kindle HDX
[CHG] Device 00:BB:3A:06:A0:24 Modalias: bluetooth:v001Dp1200d1436
[CHG] Device 00:BB:3A:06:A0:24 UUIDs: 0000110a-0000-1000-8000-00805f9b34fb
[CHG] Device 00:BB:3A:06:A0:24 UUIDs: 0000110c-0000-1000-8000-00805f9b34fb
[CHG] Device 00:BB:3A:06:A0:24 UUIDs: 00001200-0000-1000-8000-00805f9b34fb
[CHG] Device 00:BB:3A:06:A0:24 UUIDs: 00001800-0000-1000-8000-00805f9b34fb
[CHG] Device 00:BB:3A:06:A0:24 UUIDs: 00001801-0000-1000-8000-00805f9b34fb
[CHG] Device 00:BB:3A:06:A0:24 ServicesResolved: yes
[CHG] Device 00:BB:3A:06:A0:24 Paired: yes
[CHG] Device 00:BB:3A:06:A0:24 ServicesResolved: no
[CHG] Device 00:BB:3A:06:A0:24 Connected: no
It shows that pairing was successful. Notice that we are not connected yet.
Enabling The Raspberry Pi For RFCOMM Serial Communication.
- Close the bluetoothctl tool by either entering exit or pressing Control-D.
- We are about to make some changes to the
/etc/systemd/system/dbus-org.bluez.service file.
Before doing so, let’s make a back-up copy of the file in case anything goes wrong. In the terminal you have open type:
sudo cp /etc/systemd/system/dbus-org.bluez.service /etc/systemd/system/dbus-org.bluez.service.BACKUP
This is a very long line so make sure that you copy it all.
- Now we need to make changes to the file. We will modify one line and add a new line. Open up the file with your favorite editor using sudo privileges:
sudo nano /etc/systemd/system/dbus-org.bluez.service
- Here is what the file may look like:
[Unit]
Description=Bluetooth service
Documentation=man:bluetoothd(8)
ConditionPathIsDirectory=/sys/class/bluetooth

[Service]
Type=dbus
BusName=org.bluez
ExecStart=/usr/lib/bluetooth/bluetoothd
NotifyAccess=main
#WatchdogSec=10
#Restart=on-failure
CapabilityBoundingSet=CAP_NET_ADMIN CAP_NET_BIND_SERVICE
LimitNPROC=1
ProtectHome=true
ProtectSystem=full

[Install]
WantedBy=bluetooth.target
Alias=dbus-org.bluez.service
- In the third line in the [Service] section, we need to add -C to the end of the line. Change:
ExecStart=/usr/lib/bluetooth/bluetoothd
to:
ExecStart=/usr/lib/bluetooth/bluetoothd -C
- And right below that line, we need to add the following new line:
ExecStartPost=/usr/bin/sdptool add SP
The [Service] section should now look like:
[Service]
Type=dbus
BusName=org.bluez
ExecStart=/usr/lib/bluetooth/bluetoothd -C
ExecStartPost=/usr/bin/sdptool add SP
NotifyAccess=main
#WatchdogSec=10
#Restart=on-failure
CapabilityBoundingSet=CAP_NET_ADMIN CAP_NET_BIND_SERVICE
LimitNPROC=1
ProtectHome=true
ProtectSystem=full
- Save the file and exit the editor.
- Reboot the Raspberry Pi.
Installing A Bluetooth Test Server
In the next post, we will be connecting an Android app to our Raspberry Pi using Bluetooth. This app requires a Bluetooth server to be running on the RPi, and so let’s install one now.
First, Let’s Update pip To The Latest And Greatest.
The server requires the pybluez Python package to be installed on the Raspberry Pi. Before doing so, let’s take the opportunity to update pip on the RPi to the latest version. If you are running Raspbian Buster you can skip this step.
Open a terminal window on your Raspberry Pi and type the following command:
sudo pip3 install -U pip
Install The pybluez Library
First install the required libraries for pybluez. In your console type:
sudo apt-get install libbluetooth-dev
Next, in your console type:
sudo pip3 install pybluez
Copy The Test Server To Your Raspberry Pi
The source code for the server may be found at this link. Create a banyan-bot-blue directory on your Raspberry Pi, then create a test_fixtures directory. Copy the test server to that directory.
banyan-bot-blue
└── test_fixtures
    └── bluetooth_apk_validation_server.py
If you look at the server code you will see that the server initially prints out a message that it is waiting for a client to connect.
import bluetooth


print('Waiting for client to connect...')
server_sock = bluetooth.BluetoothSocket(bluetooth.RFCOMM)

port = 1
server_sock.bind(("", port))
server_sock.listen(1)
After a successful connection, it sends a short text message to the client and then sits in a loop receiving data from the client and printing the data to the console.
client_sock, address = server_sock.accept()

print("Accepted connection from ", address)
data = 'Hello Banyan Bot'
data = data.encode()
client_sock.send(data)

while True:
    data = (client_sock.recv(1024)).decode()
print("received [%s]" % data)
To run the server it must be invoked with sudo:
sudo python3 bluetooth_apk_validation_server.py
You should see the Waiting for client to connect… message. You can then kill the server.