
First Steps
A Little Background
These days, we don’t think twice about visual programming languages, but when Scratch came on the scene, it was truly radical. Since its inception, Scratch has brought the joys of programming and creative thinking to millions. It may look like a kids toy, but don’t let that fool you. It is a real programming language and programming environment that has captured the hearts of children and adults alike. Beware, if you haven’t played with Scratch before, you may become addicted.
After introducing Scratch 2, the first Web-based version of Scratch, the Scratch team provided a specification for extending Scratch’s functionality by allowing a user to add custom programming blocks to the block pallet.
Shortly after the first Extension Specification For Scratch 2 was published, I created an extension that allowed a user to program, control, and monitor an Arduino board using Scratch blocks. This program was called s2a, or Scratch To Arduino. The original protocol used to connect Scratch to an external application was a JSON messaging protocol. This scheme tended to be quite slow, so the Scratch team replaced JSON with HTTP providing a much-needed speed boost. I was there for that interface as well, with s2a_fm, a Firmata based interface, followed by its successor, s2aio. The aio part of its name refers to the Python asyncio library of which s2aio takes advantage. Over the years I have developed Scratch extensions for the micro:bit, and even put together a tutorial for those wanting to create their own Scratch 2 extensions for the Raspberry Pi.
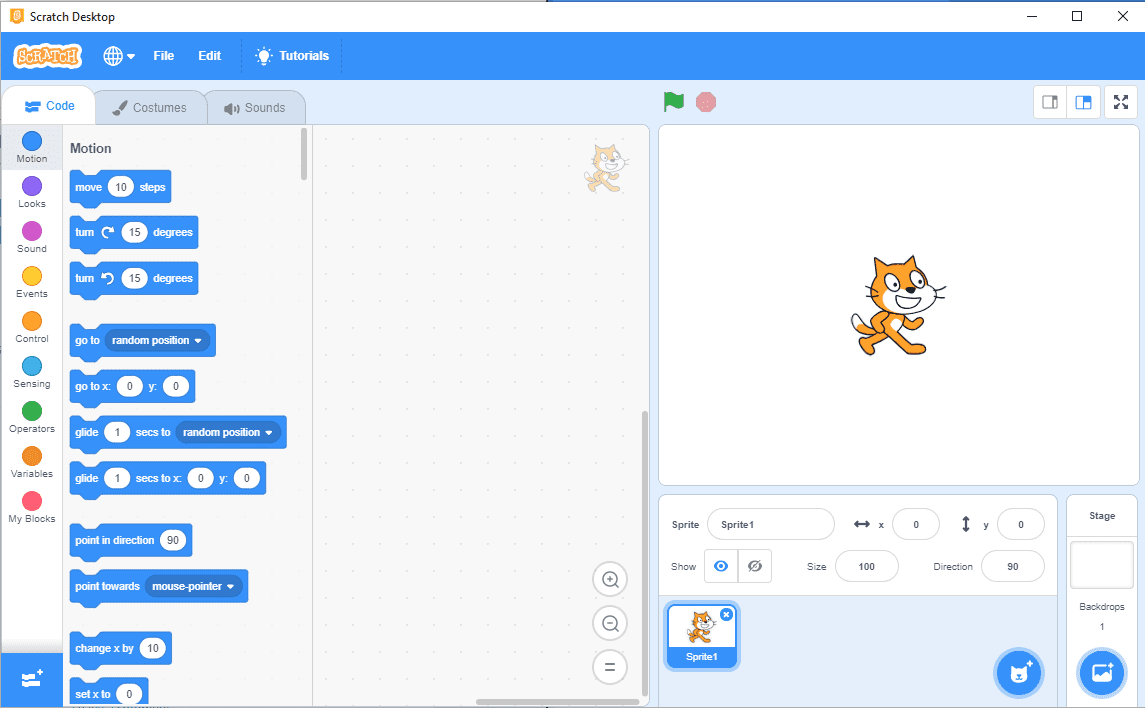
At the beginning of 2019, the Scratch team released Scratch 3.0 that includes many improvements over Scratch 2.0. Of course, I wanted to get in on the Scratch 3.0 action.
And So It Begins
Building an extension for Scratch 2 was reasonably straight forward. When I went to explore the Scratch 3 Extension Specification, I found it somewhat bewildering. It is early days for Scratch 3.0, so this is not unexpected.
I tried following the instructions, and although I could build parts of the system, I was unsuccessful at adding custom blocks. That is until I found a brilliant article written by Hiro Osaki, entitled, “How to Develop Your Own Block for Scratch 3.0”.
Hiro explains the details of creating an extension, step by step.
If you would like to understand the code structure I am using, read Hiro’s article. I replaced the files of his newblocks extension with my own named onegpio.
I encountered some issues along the way, and when I contacted Hiro for some guidance, he was more than happy to try and help. In that spirit, I would like to pass on my experiences.
Goals Of The Extension
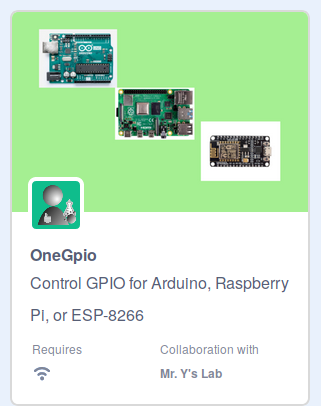
Continuing with my passion for connecting Scratch to physical computing devices, this extension, allows you to remotely program, control, and monitor an Arduino, ESP-8266, or Raspberry Pi. In previous posts, we used Python Banyan and its OneGPIO components. A thoroughly tested set of Python Banyan/OneGPIO components is included with the s3onegpio GitHub distribution.
Setting Up A Development Environment
What You Will Need:
- A computer running Linux (I use Ubuntu 19.04), Mac or Windows.
- As an IDE, I use WebStorm, but a simple text editor will work as
well.
Please note that I do not have access to a Mac so I have not personally tested things using a Mac. However, Hiro has, and so there should be a minimal risk if your development environment includes using a Mac.
- As an IDE, I use WebStorm, but a simple text editor will work as
well.
- For Windows,
install the Windows Subsystem For Linux (WSL).
- I tried Cygwin, but it did not work in this application for me.
- All work is done within WSL.
- You may use Visual Studio Code in conjunction with WSL, but that is beyond the scope of this discussion.
- Nodejs and npm. Any version greater than version 8 for node.js is acceptable
- Yarn. Install instructions for yarn can be found
here. For the
Mac, see the node link above.
- The guidelines from the Scratch team say to use npm, but I’ve found that npm does not seem to work in the Scratch environment. Also, with yarn, you do not need to worry about when and where to invoke sudo.
- A copy of updated versions of scratch-vm and scratch-gui.
- Download the s3onegpio distribution by clicking on the green Download button and unzip into any directory you choose.
- For Windows, do this in WSL.
Please note, both this extension and Scratch 3 are subject to code changes, so please be prepared for a bumpy ride. Hopefully, there will be limited churn. The s3onegpio distribution will most likely be changing over time, so at a minimum, it will need to be updated as I add features and fix bugs.
Building The Code
The instructions for building the code are taken directly from Hiro’s article. You do not need to git clone the code, you have already done that by downloading and unzipping. You need to:
- Go to the scratch-vm directory and enter:
yarn installand then
yarn link - Go to the scratch-gui directory and enter:
yarn link scratch-vmand then
yarn install - Next, within the scratch-gui directory, start the code by entering:
yarn startYou will most likely see a lot of warning messages. You can ignore those. The start takes a few moments, and you should wait for a message that states, “Compiled Successfully.”
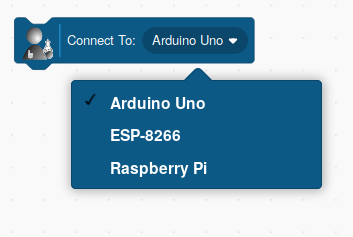
- Finally, open your Web browser to http://0.0.0.0:8601. Scratch 3 should open. If you click on the + “add extension button” at the bottom left of Scratch, the very last extension shown should be OneGPIO. If you click on that selection, the single “Connect To” block should appear. If you click on the drop-down, you will see a selector for the 3 board types supported.
But Does It Work?
If you click on the Connect To block, you will see an alert telling you that the WebSocket Connection Closed. That is because we first need to start a WebSocket server, which is precisely what the Banyan WebSocket Gateway is.
Starting The Python Banyan WebSocket Gateway
Before starting the WebSocket Gateway, Python Banyan needs to be installed. This post has a quick explanation of what Python Banyan is and how to install it. For Windows, you will need to install using a standard Windows Command window, since WSL does not support networking, required by Python Banyan.
You do not need to get into the details of Python Banyan unless you wish to. To start the WebSocket Gateway, in a Windows Command window or Linux or Mac terminal window, go to the onegpio directory in your downloaded distribution of s3onegpio. Next, type the following command:
bls -f a.csv
This command instructs the Banyan Launch Server (bls) to start up all the necessary Banyan components we need.
If you now go back to the Web browser and press the F12 key to open the console and click on the Connect To block, you should see something like this in the console:
connect index.js:49
Object { mutation: undefined, TEXT: "1" }
index.js:50
{"id":"to_arduino_gateway"} index.js:73
This output indicates a successful connection to the WebSocket Servier. If you then kill the WebSocket Gateway, you will see a Web alert message telling you that the connection has closed.
So now we conclude today’s post. In summary, we installed the code to build the s3onegpio Scratch extension, built and started the code, opened a Web browser to run Scratch with the new extension, invoked the Python Banyan WebSocket Gateway and connected to it using the Scratch connect block. What a great start!
In The Next Post
The goal for the next posting is to create additional Scratch blocks to set a digital pin to output mode, and to control the pin using both digital and PWM output. Wish me luck ;-).